
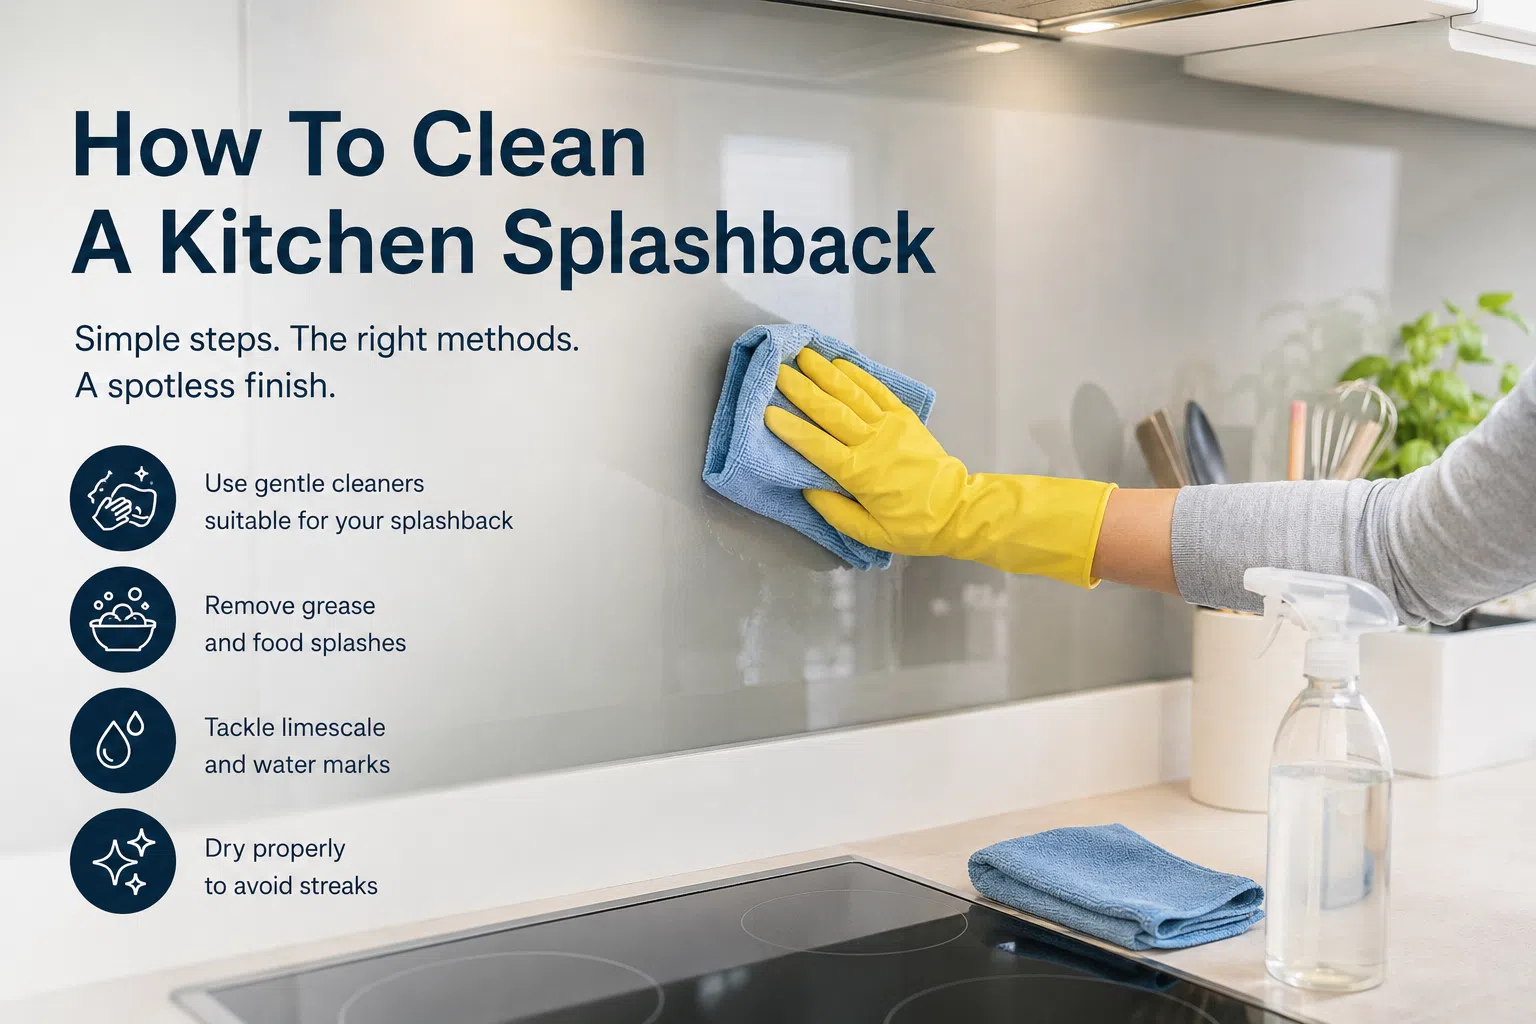
How To Clean A Kitchen Splashback
Keeping your kitchen splashback clean isn’t just about appearance. It also helps prevent grease, food splashes and limescale from building up over time. The good news is that most splashbacks are easy to maintain if you clean them regularly and use the right products for the material.
Whether you have a glass, tiled, stainless steel or acrylic splashback, a simple routine using warm water, a soft cloth and a suitable cleaner is usually enough to keep it looking its best. The key is to deal with marks while they’re still fresh, rather than waiting until grease has hardened or water stains have become stubborn.
In this guide, you’ll learn the safest way to clean every type of kitchen splashback, how to remove grease without damaging the surface, and what products are best left in the cupboard.
Quick Answer
To clean a kitchen splashback, wipe away loose dust first before washing the surface with warm water, a few drops of washing-up liquid and a soft microfibre cloth. Rinse with clean water, then dry straight away to prevent streaks and water marks. For tougher grease or limescale, use a cleaner that’s suitable for the material your splashback is made from.
What You’ll Need
You won’t need a cupboard full of specialist products. For most kitchen splashbacks, gather:
- A soft microfibre cloth
- A non-scratch sponge
- Warm water
- Washing-up liquid
- A clean drying cloth
- A spray bottle (optional)
- White vinegar for suitable surfaces where limescale is present
- A plastic scraper for stubborn dried-on food, if needed
Before using any new cleaning product, it’s worth testing it on a small, inconspicuous area first, particularly if your splashback has a specialist finish.
How To Clean A Kitchen Splashback Step By Step
Cleaning your splashback doesn’t need to take long. A few minutes after cooking is often enough to stop grease becoming difficult to remove later.
1. Remove Loose Dust And Crumbs
Although most people think of grease first, tiny particles of dust, flour and food can settle on the splashback during the day. Wipe these away with a dry microfibre cloth before introducing any water.
2. Fill A Bowl With Warm Soapy Water
Add a small amount of washing-up liquid to warm, rather than hot, water. This is usually all that’s needed for everyday cleaning and is suitable for most splashback materials.
3. Wipe The Surface From Top To Bottom
Dip your cloth into the solution, wring it out well and wipe the splashback using gentle pressure. Working from the top down prevents dirty water running over areas you’ve already cleaned.
Pay particular attention to the area behind the hob, where grease tends to collect.
4. Rinse Away Any Residue
Once the grease has been removed, wipe the surface again using a clean cloth dampened with fresh water. This prevents detergent residue from drying on the surface.
5. Dry Immediately
One step that’s often overlooked is drying the splashback. Using a clean, dry microfibre cloth helps prevent streaks and leaves glass and stainless steel with a brighter finish.
How To Clean A Glass Kitchen Splashback
Glass splashbacks are one of the easiest types to keep clean because they have a smooth, non-porous surface that doesn’t absorb grease or moisture. With regular attention, they can stay looking almost new for years.
For everyday cleaning, warm water and a little washing-up liquid are normally all that’s required. Wipe the glass using a soft microfibre cloth before rinsing with clean water and drying thoroughly.
If fingerprints or light smears remain, a dedicated glass cleaner can help restore a streak-free finish. Spray the cleaner onto the cloth rather than directly onto the splashback to avoid overspray landing on nearby worktops or appliances.
For heavier cooking grease, allow a damp, warm cloth to rest against the affected area for a minute or two. This softens the residue and makes it much easier to wipe away without excessive rubbing.
Although glass is durable, avoid abrasive scouring pads and cleaning powders. These can leave fine scratches that become more noticeable over time, especially when sunlight catches the surface.
Top Tip
A quick wipe after preparing an evening meal usually takes less than a minute and prevents grease building up into a job that takes much longer at the weekend.
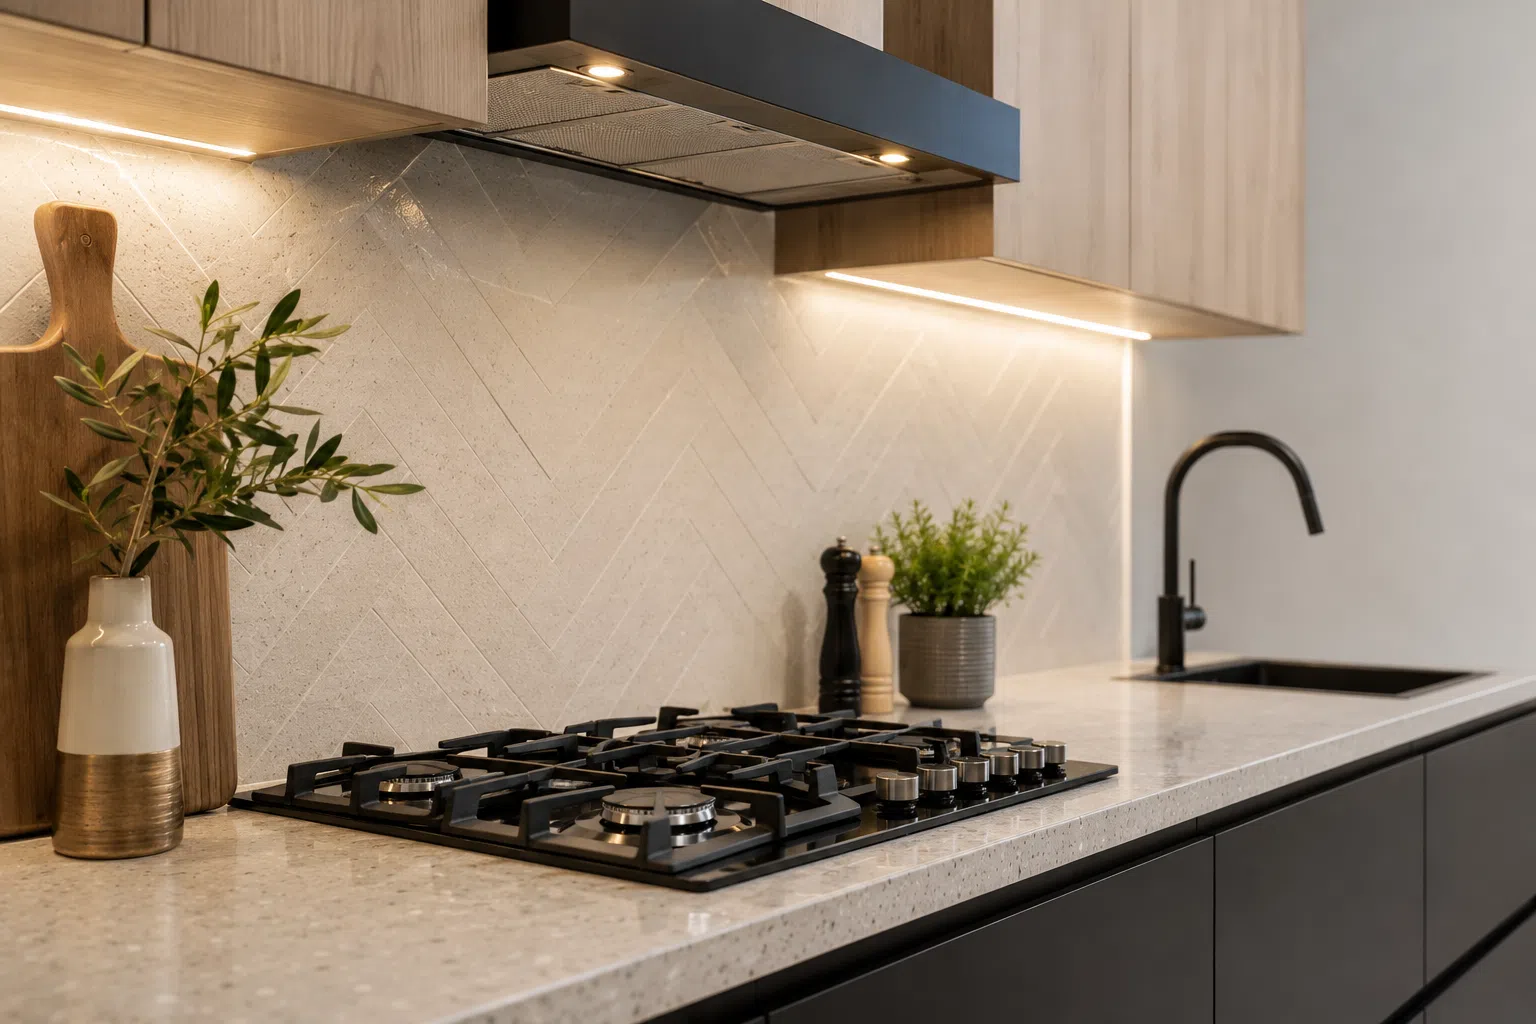
How To Clean A Tiled Kitchen Splashback
Tiled splashbacks are a popular choice because they’re durable, easy to maintain and available in a wide range of colours and finishes. While the tiles themselves are usually straightforward to clean, it’s often the grout lines that need the most attention.
For day-to-day cleaning, warm water and a few drops of washing-up liquid are normally enough to remove cooking splashes and light grease. Wipe each tile with a soft cloth or sponge before rinsing with clean water and drying with a microfibre cloth.
If grease has been left to build up behind the hob, let the soapy solution sit on the surface for a couple of minutes before wiping it away. This gives the grease time to soften, making it easier to remove without vigorous scrubbing.
Don’t Forget The Grout
Grout is slightly porous, so it can absorb grease and cooking residue more easily than the tiles themselves. Over time, this can leave grout looking darker or discoloured.
A soft brush, such as an old toothbrush, is ideal for cleaning grout lines. Work gently along the joints using warm soapy water before wiping away any loosened dirt with a damp cloth.
If the grout has become stained, a specialist grout cleaner may be needed, but always follow the manufacturer’s instructions and avoid using anything too abrasive.
How To Clean A Stainless Steel Kitchen Splashback
A stainless steel splashback gives a kitchen a modern appearance, but because it’s reflective it can quickly show fingerprints, water marks and cooking grease.
The safest way to clean it is with warm water, a little washing-up liquid and a soft microfibre cloth. Wipe gently in the direction of the grain rather than across it. This helps maintain the finish and reduces the chance of leaving visible marks.
After cleaning, rinse with clean water and dry the surface immediately using a separate cloth. Drying is one of the simplest ways to prevent streaks and water spots.
Removing Fingerprints
Fingerprints are particularly noticeable on stainless steel, especially around the cooker where people naturally touch the surface while cooking.
A dedicated stainless steel cleaner can help restore an even finish, although it’s often unnecessary for routine cleaning if you dry the surface thoroughly after washing.
Avoid Scratching The Surface
Steel wool, abrasive pads and harsh scouring powders should never be used on stainless steel splashbacks. They can leave permanent scratches that dull the finish and make future cleaning more difficult.
How To Clean An Acrylic Kitchen Splashback
Acrylic splashbacks are lightweight, stylish and often chosen as an alternative to glass. They’re easy to clean, but they do need a gentler approach because acrylic scratches more easily than many other materials.
For regular cleaning, use a soft microfibre cloth with warm water and a small amount of washing-up liquid. Wipe gently across the surface before rinsing with clean water and drying with another soft cloth.
If grease has dried onto the splashback, resist the temptation to scrub. Instead, dampen the area with warm soapy water and leave it for a few minutes. The grease will usually soften enough to wipe away without damaging the surface.
Avoid Strong Chemicals
Some household cleaners contain solvents or ammonia that can cause acrylic to become dull or develop fine cracks over time. Always check that a cleaner is suitable for acrylic before using it.
Similarly, avoid abrasive cream cleaners and rough sponges, as these can leave scratches that are difficult to remove.
Keep It Looking Its Best
Acrylic splashbacks respond well to regular, light cleaning. A quick wipe every couple of days is often enough to prevent grease and cooking splashes building up, reducing the need for stronger cleaning products later.
How To Remove Grease From A Kitchen Splashback
Grease is one of the biggest challenges in any kitchen, especially behind the hob where tiny droplets of oil and cooking fat settle every time you fry, grill or roast food. If it’s cleaned regularly, grease is usually easy to remove. Left for weeks or months, it becomes sticky, attracts dust and can feel almost varnish-like.
The easiest way to deal with grease is to soften it before trying to wipe it away.
Start by soaking a microfibre cloth in warm, soapy water and holding it against the greasy area for a minute or two. The warmth helps loosen the grease, making it much easier to lift away without excessive rubbing.
Once softened, wipe the splashback using gentle circular movements before rinsing with clean water and drying thoroughly.
For heavier grease build-up, a kitchen degreaser may be needed. Always check that it’s suitable for your splashback material and avoid leaving it on the surface for longer than recommended.
Dealing With Burnt-On Grease
Grease that has been repeatedly heated can become much harder to remove.
Rather than scrubbing harder, apply warm soapy water and give it time to work. You may need to repeat the process several times before the grease loosens completely.
A plastic scraper can sometimes help lift stubborn residue from glass or tiles, but avoid using metal scrapers as they can scratch the surface.

How To Remove Limescale From A Kitchen Splashback
Not every kitchen suffers from limescale, but if you live in a hard water area you’ll often notice white marks around taps, sinks and anywhere water regularly splashes onto the wall.
Unlike grease, limescale is a mineral deposit, so it needs a different approach.
For glass, ceramic tiles and many stainless steel splashbacks, white vinegar can be an effective way to dissolve light limescale deposits.
Apply a small amount to a cloth rather than pouring it directly onto the splashback. Leave it for a few minutes before wiping clean and rinsing thoroughly with fresh water.
Dry the surface straight away to prevent new water marks forming.
When Not To Use Vinegar
Although vinegar is a popular household cleaner, it isn’t suitable for every surface.
Avoid using acidic cleaners on:
- Acrylic splashbacks
- Natural stone splashbacks
- Marble
- Limestone
- Travertine
These materials can become dull or damaged if exposed to acids.
If you’re unsure what your splashback is made from, it’s always safer to use warm soapy water or follow the manufacturer’s cleaning recommendations.
How To Avoid Streaks On A Kitchen Splashback
One of the most common frustrations is cleaning a splashback only to find it covered in streaks once it dries.
Fortunately, avoiding streaks is usually a matter of technique rather than buying expensive cleaning products.
Start by using a clean cloth. If your microfibre cloth already contains grease or detergent residue from previous jobs, you’ll simply spread it back onto the surface.
Next, avoid using too much cleaning product. More detergent doesn’t necessarily mean a cleaner splashback. In fact, excess product often leaves a film behind that’s responsible for many streaks.
Finally, dry the splashback immediately using a second clean microfibre cloth. This simple step makes the biggest difference, particularly on glass and stainless steel.
If You Live In A Hard Water Area
Hard water contains minerals that can leave marks as droplets dry naturally.
Buffing the surface while it’s still slightly damp helps remove these deposits before they become visible.
Cleaning Products To Avoid
Many household cleaners claim to work on every surface, but kitchen splashbacks can vary considerably depending on the material they’re made from.
Using the wrong product may leave scratches, dull the finish or even cause permanent damage.
Avoid using:
- Wire wool or metal scouring pads
- Abrasive cleaning powders
- Rough scouring sponges
- Strong solvents unless specifically recommended
- Harsh alkaline cleaners on delicate finishes
- Acidic cleaners on natural stone or acrylic
- Sharp metal scrapers
When in doubt, the gentlest option is usually the safest. Warm water, washing-up liquid and a soft microfibre cloth remain the best choice for routine cleaning on most splashbacks.
How Often Should You Clean A Kitchen Splashback?
There’s no fixed rule, but little and often is usually the easiest approach.
If you cook most days, giving the splashback a quick wipe after preparing meals prevents grease from building up and takes very little effort.
A more thorough clean once a week is enough for most households, while a deeper clean every month helps tackle areas that are easily overlooked, such as the edges behind appliances or around sockets.
Cleaning regularly also means you’re less likely to need stronger products or vigorous scrubbing, helping your splashback stay in better condition for longer.
Common Mistakes To Avoid
Even with the best intentions, a few simple mistakes can make cleaning more difficult or even damage the surface.
Some of the most common include:
- Leaving grease to build up over several weeks.
- Using abrasive pads because the dirt won’t come off straight away.
- Spraying large amounts of cleaner directly onto the splashback instead of onto the cloth.
- Forgetting to rinse away cleaning product after washing.
- Allowing water to dry naturally instead of drying the surface.
- Using the same dirty cloth for every stage of cleaning.
- Choosing products without checking they’re suitable for the splashback material.
Most kitchen splashbacks don’t require aggressive cleaning. Regular maintenance with gentle products is usually enough to keep them looking clean and well cared for for years.
Conclusion
Cleaning a kitchen splashback is one of those jobs that’s much easier if you stay on top of it. A quick wipe after cooking prevents grease, food splashes and water marks from becoming difficult to remove later.
The best cleaning method depends on the material your splashback is made from, but in most homes, warm water, a little washing-up liquid and a soft microfibre cloth are all that’s needed for regular cleaning. Avoid harsh abrasives, dry the surface after washing and deal with spills as they happen. Your splashback will stay cleaner, look better and last longer.
Whether your splashback is glass, tiled, stainless steel or acrylic, a few minutes of regular care is usually enough to keep it looking as good as the day it was installed.

Frequently Asked Questions
Can I use vinegar to clean a kitchen splashback?
White vinegar is effective at removing light limescale from many glass, ceramic and stainless steel splashbacks. It should not be used on acrylic or natural stone surfaces unless the manufacturer specifically recommends it.
What is the best cleaner for a kitchen splashback?
For routine cleaning, warm water with a few drops of washing-up liquid is usually all that’s required. It removes grease and everyday marks without damaging most splashback materials.
How often should I clean my kitchen splashback?
A quick wipe after cooking helps prevent grease from building up. A more thorough clean once a week is enough for most households, with a deeper clean every month if needed.
Can I use glass cleaner on a glass splashback?
Yes. Glass cleaner is ideal for removing fingerprints and light smears from glass splashbacks. Spray it onto a clean microfibre cloth rather than directly onto the glass for the best finish.
Is bicarbonate of soda safe to use on a kitchen splashback?
Bicarbonate of soda can help remove stubborn grease when mixed into a gentle paste. Avoid scrubbing too hard, particularly on acrylic or polished surfaces where fine scratches can occur.
Can I use bleach to clean a kitchen splashback?
Bleach is rarely needed for routine cleaning and may damage certain materials. It’s better to use a cleaner that’s suitable for the type of splashback you have.
How do I remove dried grease from a splashback?
Apply a warm, damp cloth to the grease for a few minutes to soften it before wiping it away. Stubborn build-up may need a suitable kitchen degreaser that’s safe for your splashback material.
Why does my splashback look streaky after cleaning?
Streaks are often caused by leaving cleaning solution on the surface or allowing water to dry naturally. Rinse with clean water and dry immediately using a fresh microfibre cloth.
Can I use a steam cleaner on a kitchen splashback?
Steam cleaners can be suitable for some tiled or glass splashbacks, but they may not be recommended for acrylic panels or splashbacks secured with certain adhesives. Always check the manufacturer’s guidance first.
What’s the safest cloth to use on a kitchen splashback?
A clean microfibre cloth is the safest option for most splashbacks. It lifts grease and dirt without scratching the surface and leaves a streak-free finish when dry.
How do I clean grout on a tiled splashback?
Use warm soapy water and a soft brush, such as an old toothbrush, to gently clean the grout lines. Wipe away loosened dirt with a damp cloth and dry afterwards.
Can I use washing-up liquid on every type of splashback?
In most cases, yes. A small amount of washing-up liquid diluted in warm water is suitable for glass, ceramic tiles, stainless steel and many acrylic splashbacks. Always check the manufacturer’s advice if you’re unsure.
How can I stop grease building up behind my hob?
The easiest way is to wipe the splashback after cooking while grease is still fresh. This takes only a minute and prevents residue from hardening over time.
Will abrasive pads damage my kitchen splashback?
They can. Abrasive pads, wire wool and scouring powders may scratch glass, stainless steel and acrylic surfaces, leaving permanent marks.
Should I dry my kitchen splashback after cleaning?
Yes. Drying the surface with a clean microfibre cloth helps prevent streaks, water marks and mineral deposits, particularly in hard water areas.
Can I use antibacterial spray on my kitchen splashback?
Many antibacterial sprays are suitable for routine use, but check that they’re compatible with your splashback material. Avoid products containing harsh solvents on acrylic or natural stone.
How do I know what material my kitchen splashback is made from?
If you’re unsure, check any paperwork supplied when your kitchen was installed or contact the manufacturer. Using the correct cleaning method helps avoid accidental damage.