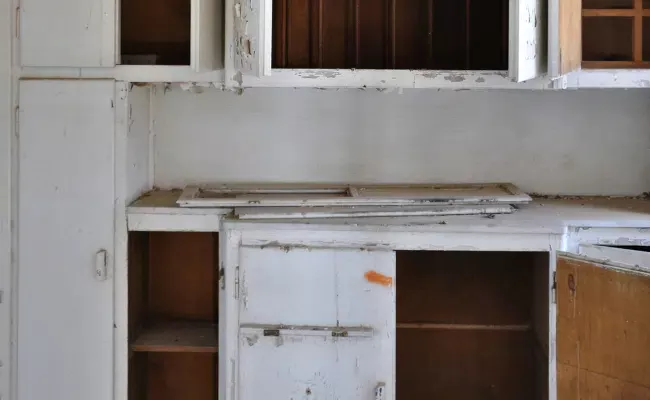
Introduction: How To Clean Mould From Kitchen Cupboards
Understanding Mould in the Kitchen
Causes of Mould
Mould, a common household menace, thrives in damp and poorly ventilated areas, and your kitchen is no exception. The steam from cooking, leaks from pipes, or high humidity levels could foster a perfect environment for mould to grow. Sound familiar? Well, we've all been there.
Health Effects of Mould
Mould isn't just unsightly; it can also pose serious health risks. Exposure to mould can lead to respiratory issues, allergies, and other health problems. Some people are more sensitive to mould than others, but it's safe to say no one wants it in their kitchen, right?
Prevention is Better Than Cure
Remember, prevention is always better than cure.
Proper Ventilation
The secret to keeping mould at bay? It's proper ventilation! Ensuring that your kitchen has enough air circulation will prevent the build-up of excess moisture. Simple, isn't it?
Regular Cleaning
In addition to ventilation, regular cleaning is your next best ally in preventing mould growth. A clean kitchen is less likely to host mould spores, so roll up your sleeves and let's get to work!
Timely Repairs
Leaky pipes and damp walls can be a breeding ground for mould. Make sure to get any leaks or damage repaired promptly to keep mould from setting up shop in your kitchen.
Materials Needed for Mould Removal
Now, if you've got mould despite your best efforts, don't panic. Here's a list of items you'll need for mould removal: safety goggles, rubber gloves, vinegar, baking soda, a spray bottle, and a scrubbing brush.
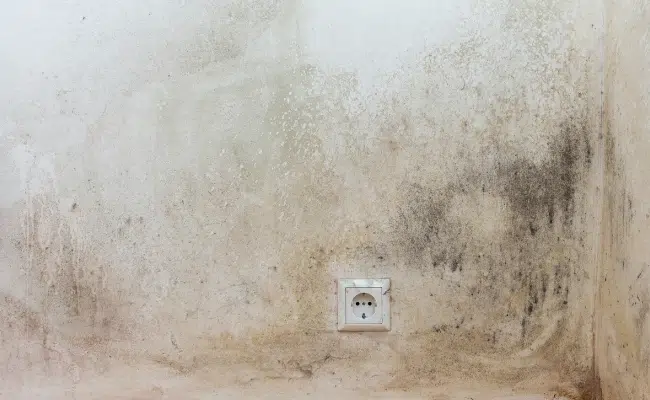
Step by Step Guide to Mould Removal
Step 1: Safety First
Before you start the mould removal process, remember to protect yourself. Wear safety goggles to protect your eyes and rubber gloves to protect your hands.
Step 2: Initial Clean-Up
Start by wiping down the mouldy area with a damp cloth. This will remove the loose mould spores, making the actual removal process more effective.
Step 3: Mould Removal
Fill a spray bottle with vinegar and spray it on the mouldy area. Let it sit for an hour. Then, sprinkle baking soda on a damp cloth and scrub away the mould.
Step 4: Post-Removal Cleaning
After removing the mould, wipe down the area with a clean damp cloth to remove any remaining mould spores. Then, dry the area thoroughly to prevent any moisture from attracting more mould.
Step 5: Prevention Measures
Remember to implement prevention measures like regular cleaning and proper ventilation to keep mould from returning. After all, no one likes doing the same job twice, right?
Professional Help For Mould Removal
If you're dealing with a severe mould issue or if the mould keeps coming back despite your best efforts, it may be time to call in local professional cleaners. They can help identify the root cause of the problem and provide a long-term solution.

Conclusion
Now that you know how to clean mould from kitchen cupboards, it's time to reclaim your kitchen from this unwelcome guest. With these tips and a little elbow grease, your kitchen will be mould-free in no time!
FAQs
- Can I use bleach to clean mould from kitchen cupboards? While bleach can remove mould on non-porous surfaces, it may not be effective on porous materials like wood. Natural cleaners like vinegar and baking soda are usually safer and just as effective.
- How often should I clean my kitchen to prevent mould growth? Ideally, you should clean your kitchen at least once a week. However, areas prone to moisture, like under the sink or around the dishwasher, should be checked more frequently.
- How quickly can mould grow in my kitchen? Mould can start to grow in as little as 24 to 48 hours in the right conditions.
- Are there any natural remedies for preventing mould growth? Yes, regular use of vinegar or baking soda can help keep mould at bay.
- When should I call in professional help for mould removal? If the mould covers a large area, is in hard-to-reach places, keeps coming back, or if you're experiencing health symptoms, it's time to call in professionals.
We cover more ways to tackle grease and residue in our complete kitchen cleaning guide.